DIY Tips
How to Rescreen a Pool Cage in Orlando: Complete DIY Guide (2026)
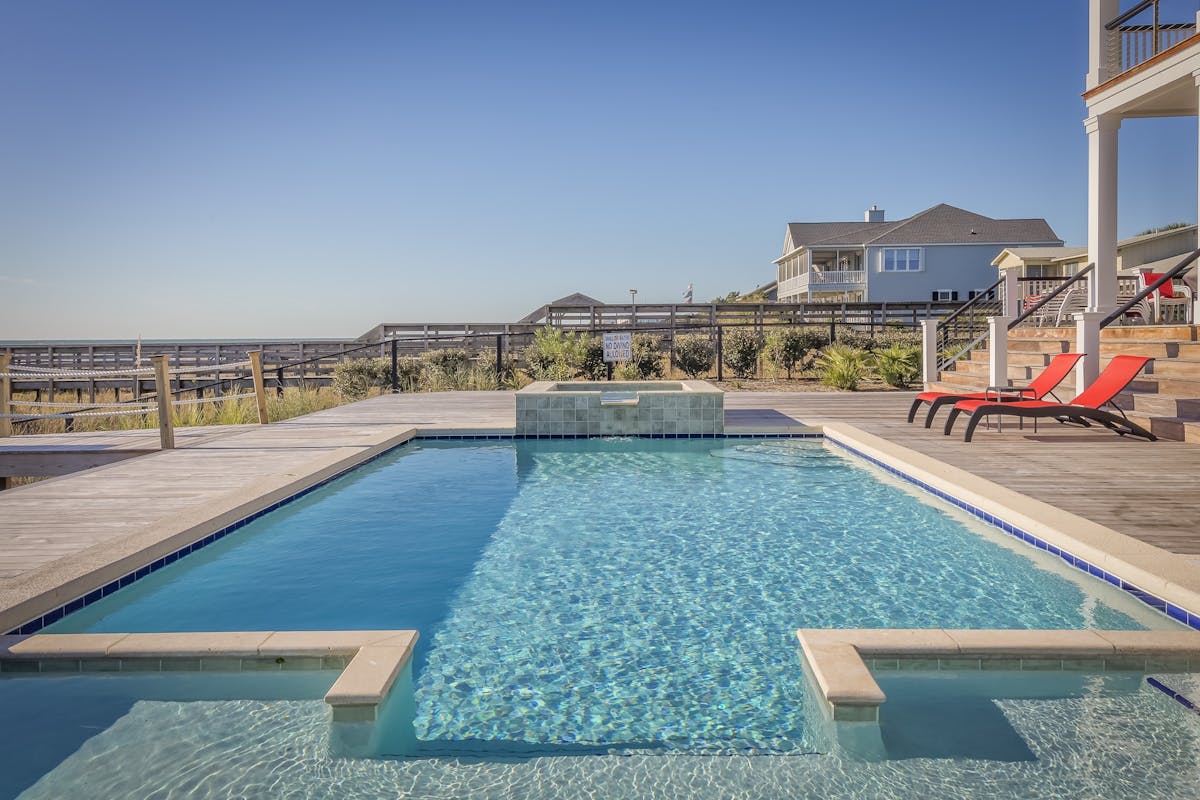
Why Rescreening Your Pool Cage Matters in Florida
Florida pool enclosures take a beating. Between hurricane season, UV degradation, and the occasional wayward tree branch, most pool cage screens need replacement every 7-10 years. Professional rescreening in Orlando typically costs $3,000-$8,000 depending on the size of your enclosure, but with the right materials and a weekend of work, you can do it yourself for a fraction of the cost.
At ARK Orlando, we have helped hundreds of homeowners and contractors source the exact materials they need for pool cage rescreening projects. This guide walks you through the entire process from start to finish.
Materials You Will Need
Before you start, gather these essential materials:
- Screen material — We recommend 18x14 mesh fiberglass screen in charcoal. It provides excellent visibility, airflow, and insect protection. For pool cages, the 84-inch or 96-inch wide rolls are most common.
- Spline — The rubber cord that holds the screen in the channel. Measure your existing spline diameter before purchasing. Most pool cages use 0.160" or 0.175" spline.
- Spline roller tool — A professional-grade roller makes installation significantly easier and produces tighter, more uniform results.
- Utility knife — For trimming excess screen material.
- Flathead screwdriver — For removing old spline.
- Ladder or scaffolding — Pool cages are tall. Safety first.
Step 1: Remove the Old Screen
Start by removing the old spline using a flathead screwdriver or spline removal tool. Work your way around each panel, pulling the spline out of the channel. The old screen will come free once the spline is removed. Dispose of the old screen material responsibly.
While the screen is off, inspect the aluminum frame for any damage, corrosion, or bent channels. Now is the time to make repairs before installing new screen. Clean the spline channels with a brush to remove debris.
Step 2: Measure and Cut Your Screen
Measure each panel opening and add 2-3 inches on each side for overlap. This extra material gives you something to grip while rolling in the spline and ensures full coverage. Cut your screen material with a utility knife or scissors.
Pro tip: On windy days, use spring clamps to hold the screen in place while you work. Florida breezes can make this step frustrating without them.
Step 3: Install the New Screen
Position your cut screen over the panel opening, ensuring even overlap on all sides. Starting at one corner, press the spline into the channel using your spline roller. Work along one side first, then the opposite side (pulling the screen taut), then the remaining two sides.
Key technique: Roll the spline in with firm, consistent pressure. Do not stretch the screen too tight — it should be taut but not drum-tight, as thermal expansion in Florida heat can cause overly tight screens to pull out of the channel.
Step 4: Trim the Excess
Once the spline is fully seated around the entire panel, use a sharp utility knife to trim the excess screen material. Cut along the outside edge of the spline channel at a slight angle. A fresh blade makes this much easier and produces cleaner cuts.
Step 5: Repeat for All Panels
Work your way around the enclosure, completing one panel at a time. Most pool cages have 20-40 individual screen panels. A typical two-person team can complete a standard pool cage in 1-2 days.
Choosing the Right Screen Material
Not all screen is created equal. Here are your main options:
- Standard fiberglass (18x14) — The most popular choice. Good visibility, affordable, easy to work with. Lasts 5-7 years in Florida sun.
- High-visibility fiberglass (20x20) — Finer mesh provides better outward visibility but slightly less airflow. Popular for lanais and living spaces.
- Pet-resistant screen — Vinyl-coated polyester that resists tears from dogs and cats. More expensive but worth it if you have active pets.
- Solar screen — Blocks 65-90% of UV rays. Reduces heat inside the enclosure but also reduces visibility.
For most Orlando pool cages, we recommend the ARK 1814 V3 screen in 84" or 96" width. It offers the best balance of durability, visibility, and value.
Cost Comparison: DIY vs Professional
Here is a realistic cost breakdown for a typical 1,200 sq ft pool cage:
- Professional rescreening: $4,500-$7,000 (labor + materials)
- DIY with ARK materials: $800-$1,500 (materials only)
- Your savings: $3,000-$5,500
The math is clear. If you are comfortable on a ladder and have a free weekend, DIY rescreening is one of the highest-ROI home improvement projects you can tackle.
Common Mistakes to Avoid
- Using the wrong spline size — Too small and it will not hold. Too large and it will not seat properly. Always measure your existing spline.
- Over-tightening the screen — This causes premature failure, especially in summer heat when aluminum expands.
- Skipping frame repairs — A bent channel will never hold screen properly. Fix the frame first.
- Working in direct sun — Screen material is easier to handle in shade or early morning. Heat makes it stretchy and harder to control.
Where to Buy Screen Materials in Orlando
ARK Screening and Aluminum Products carries everything you need for pool cage rescreening. Visit our showroom at 4455 Dardanelle Drive, Suite D, Orlando FL 32808, or shop online at arkorlando.com. We stock all standard screen widths, spline sizes, and tools. Contractor pricing available for licensed professionals.
Need help choosing the right materials? Call us at 321-462-3779 — our team has 30+ years of experience in the Florida screen industry and can recommend exactly what you need for your specific enclosure.